RSS Feed

**UPDATE 10-1-18**

Posted by ZombiesRComng


This was a fun project to build and use, but unfortunately due to life changes and loss of interest, the table was scrapped and the components used for other purposes many years ago.  I no longer make any of the components for it.

IR Miniatures for sale

Posted by ZombiesRComng

I have received several e-mails from people asking if I could make them an IR Miniature like I use on my table. If any of you are interested in buying one, I am selling them for $15.00 shipped (does not include CR2025 battery). Just shoot me an e-mail at zombiesrcomng@gmail.com and let me know. :-)

The IR Miniature

Posted by ZombiesRComng

Here's some information on the IR Miniature that I made to move the virtual mini's on the game map. It is a much better method of moving the mini's than the IR pen.


Parts List:
High-Output Infrared LED
SPST 0.5-Amp Momentary Switch
15 Ohm 1/2W Resistor
CR2032 Battery Holder
CR2032 Battery 
Wooden Disk 
Miniature Wooden Flower pot 
5-Minute Epoxy

 These are just the parts that I used, but you can always come up with your own design. One thing to note is that at the time I made these, I used a smaller battery and holder that has since been discontinued by Radio Shack (CR1220). If you are able to locate a CR1220 battery holder, then I would recommend using that since it's much smaller. If not, the CR2032 should work just fine since it's the same voltage, it's just larger and may not fit in the flower pot case that I used. Once I had everything wired together, I filled the pot with epoxy and then used a piece of cardboard to push the battery/battery holder into the epoxy. As the epoxy cures it gets VERY hot and so you'll want to use something other than your finger to hold the battery into the epoxy until it hardens. 

Here's a picture of the inside of a finished IR Miniature.


The Table in Action

Posted by ZombiesRComng

Hey Everyone! I finally found some time to make a few videos to show the table in action. Check them out and if you have any questions/comments please send me an e-mail at zombiesrcomng@gmail.com.


More additions to the table

Posted by ZombiesRComng

Well, the table is working better than expected, however due to the location of the computers for the GM Station and the Map Screen, you had to kneel down and almost crawl under the table in order to turn them on. The other issue was with using a USB Flash drive. As with turning on the computers, the USB ports were well underneath the table so you would have to crawl under in order to plug in the drive.


In order to solve the problem, I wired some momentary power buttons to the power buttons on the two computers and then mounted then to the edge of the table. I also picked up a cheap USB hub and mounted it to the edge of the table with velcro.


Quite a few changes...

Posted by ZombiesRComng

It's been a while since I've posted an update on here. The Gaming Table has undergone quite a few changes since the last post. I will be adding some more pics and info soon and also a video of the table in action.

Stay tuned.... :-)

Goodbye Plexi... hello Glass!!!

Posted by ZombiesRComng

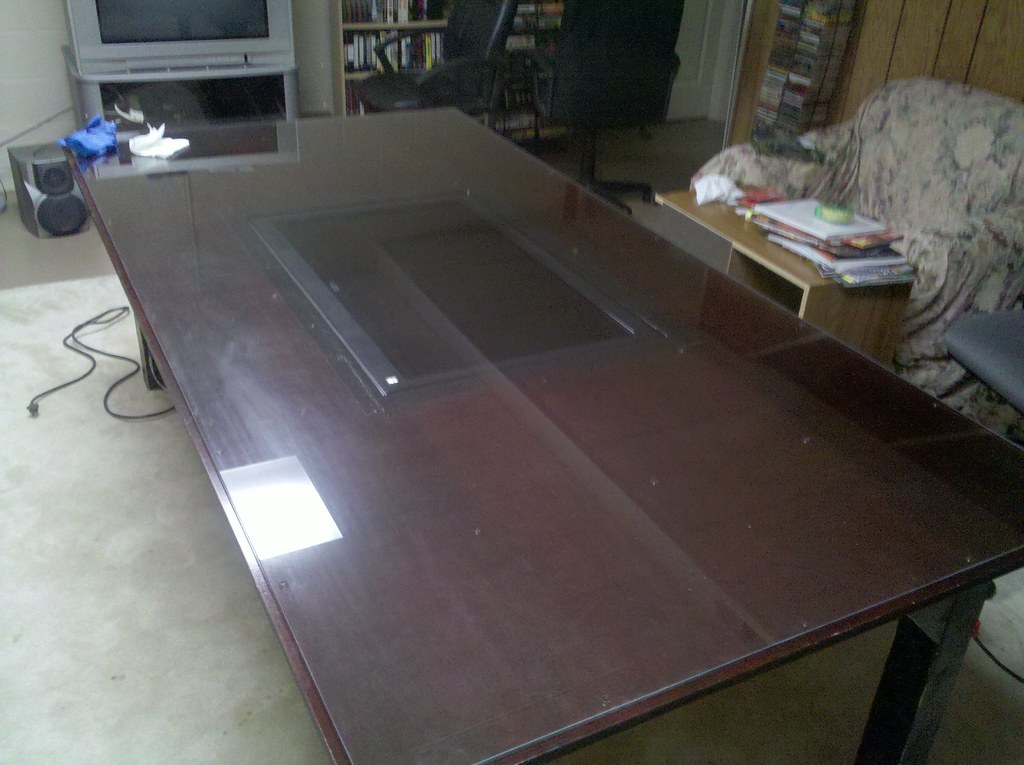
After the first test gaming session, the problem with the screen fogging up was worse and also the heat from the screen caused the Plexiglas to warp in the middle. I decided that the best thing would be to replace the Plexi with actual glass. I ordered a 4' X 8' sheet to cover the entire tabletop surface. That was definitely the way to go.


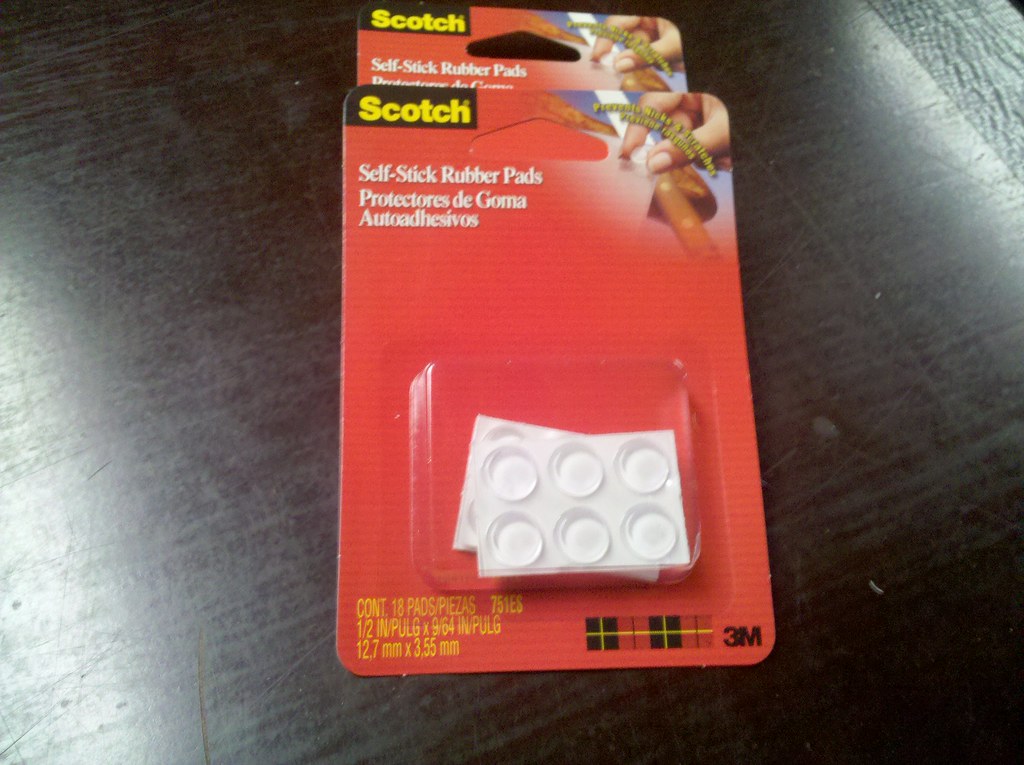
Juli picked up some Scotch brand Rubber Pads from JoAnn's Fabrics and they worked perfectly


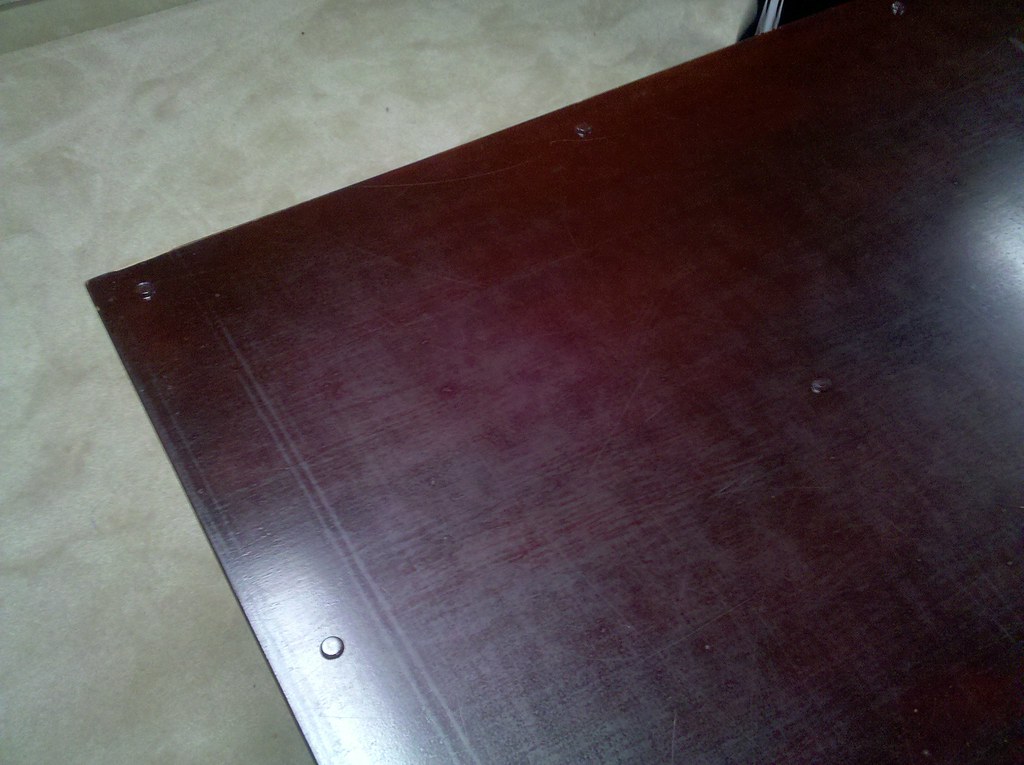
We measured and placed a pad in the corner of every square foot of the table surface


And here is the new glass gaming surface. Much better, don't you think? :-)


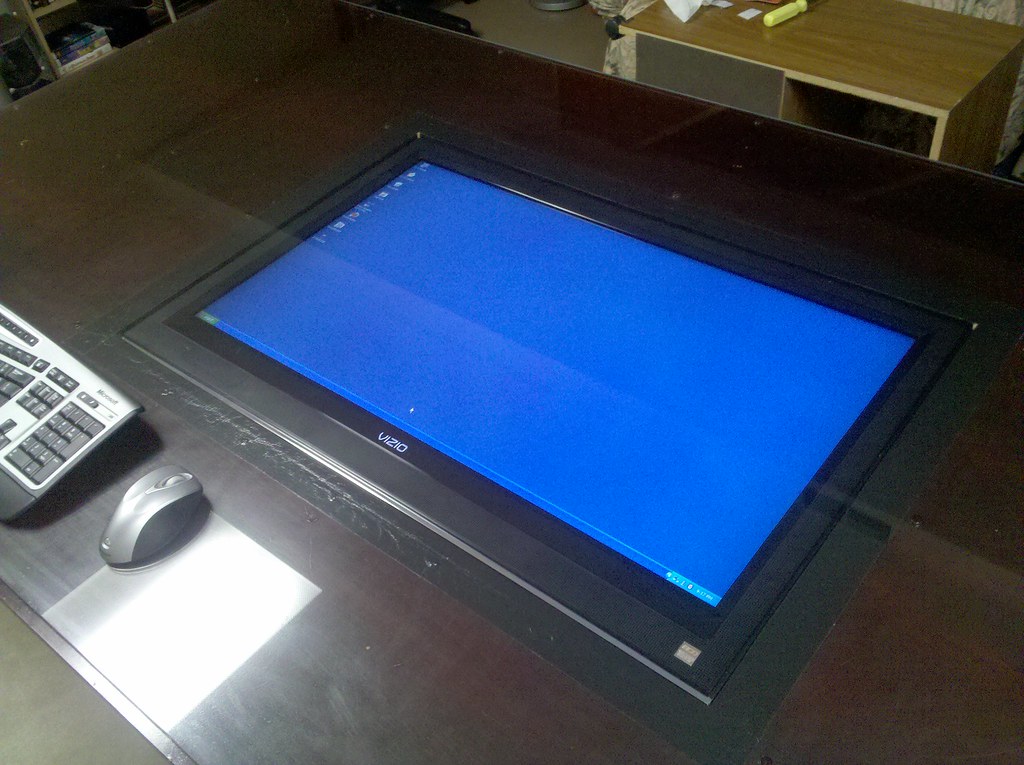
Here's how the screen looks through the glass. NO MORE FOGGING!!! :-D